A paddle kayak is the most affordable way to start kayak fishing There are 3…
You finally land the fish you’ve been hoping for. You reach for the camera, wrestle with the settings, and squeeze off a photo—only to discover later that your head is cut off, the lens is covered in water, and your bass is hiding in a shadow.
Sound familiar?
Great kayak fishing photos start before the fish bites. Whether you use a smartphone, an action camera, or a camera with interchangeable lenses, a little preparation can help you capture the catch and the excitement that came with it.
A hero shot is the classic angler-with-a-fish photo. An action shot captures something happening: a cast, a bent rod, a splash beside the kayak, or a fish swimming away. Here’s how to improve both.
Set Up Your Camera Before You Start Fishing
At the launch, clean the lens, check your battery and storage, and take a test photo while seated in your normal fishing position. Review the actual image rather than relying on where you think the camera is pointing.
Make sure there’s room for your hat, both ends of the fish, and a little water or shoreline. Test where you’ll hold the fish using empty hands. A mount that captures your face perfectly may cut off the tail when you lift a northern pike.
Keep the camera controls within easy reach. Secure equipment with short tethers routed away from hooks, lines, pedals, and your body. Put spare batteries and a dry lens cloth in a waterproof container.
The goal is simple: when a fish arrives, your camera is already ready.
Use Light to Show the Angler and the Fish
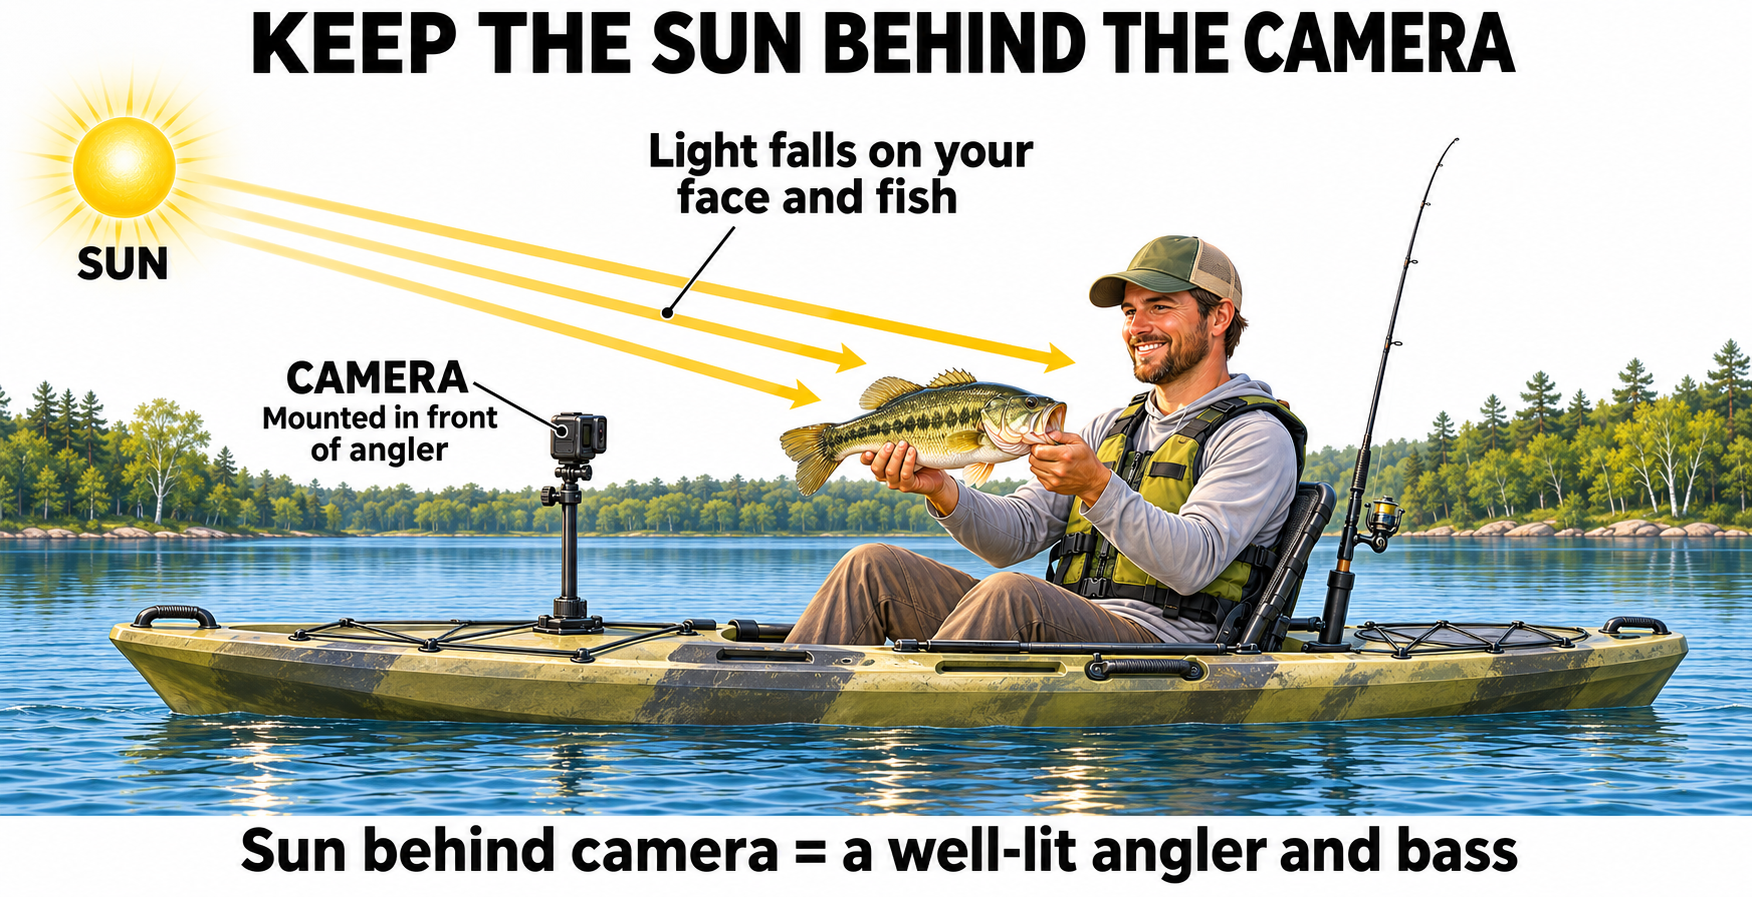 For a straightforward hero shot, position yourself so the light reaches your face and the visible side of the fish. With the sun behind the camera, you’ll usually have an easier time capturing detail and getting a clear pic. If you catch your fish in a shaded area or with the sun at your back, put the fish in your net in the water and move to a position as shown above.
Early and late light can add warmth, while an overcast Minnesota morning can offer soft, even lighting. Bright midday sun takes more care: a hat brim can hide your eyes, and wet scales can reflect bright patches of light.
Before lifting the fish, check the preview. Turn slightly if your face is shaded or the fish is reflecting glare. If your phone offers exposure adjustment, reduce brightness a little when scales look washed out, then check that your face is still visible.
Choose a Mount That Matches the Shot
Different camera positions tell different parts of the story.
| Camera position | Useful for | What to check |
|---|---|---|
| Front mount facing the seat | Solo hero shots and reactions | Leave room for your head and the fish’s tail. |
| Behind and above one shoulder | Casting, rod bends, and landing fish | Keep your body from blocking the important action. |
| Chest mount or hat mount | Hands, tackle, and close fishing activity | Check whether your PFD or arms obstruct the view. |
| Camera held by a fishing partner | Flexible hero shots and wider scenes | Maintain safe spacing between kayaks. |
A front-facing camera is a practical starting point for solo anglers. A second view can add variety, but only if the extra equipment stays out of your fishing space.
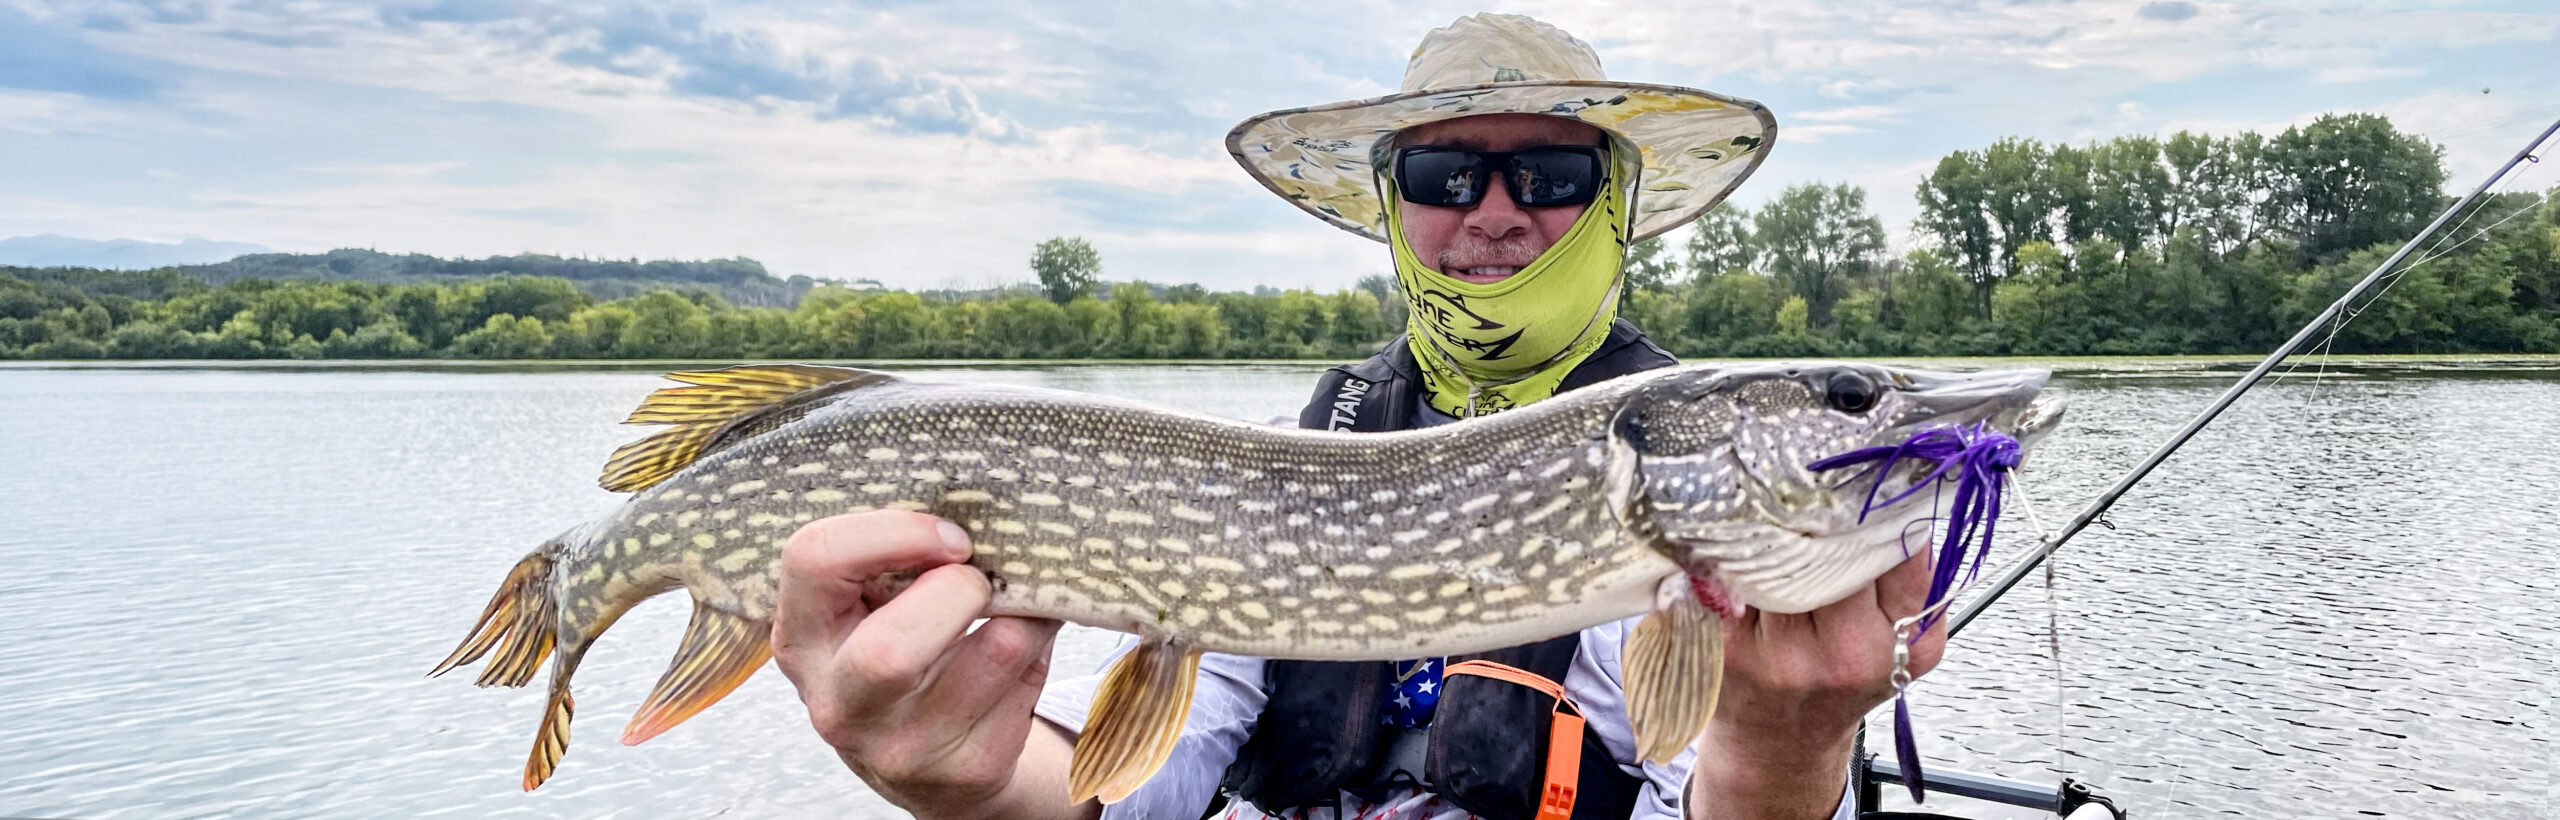
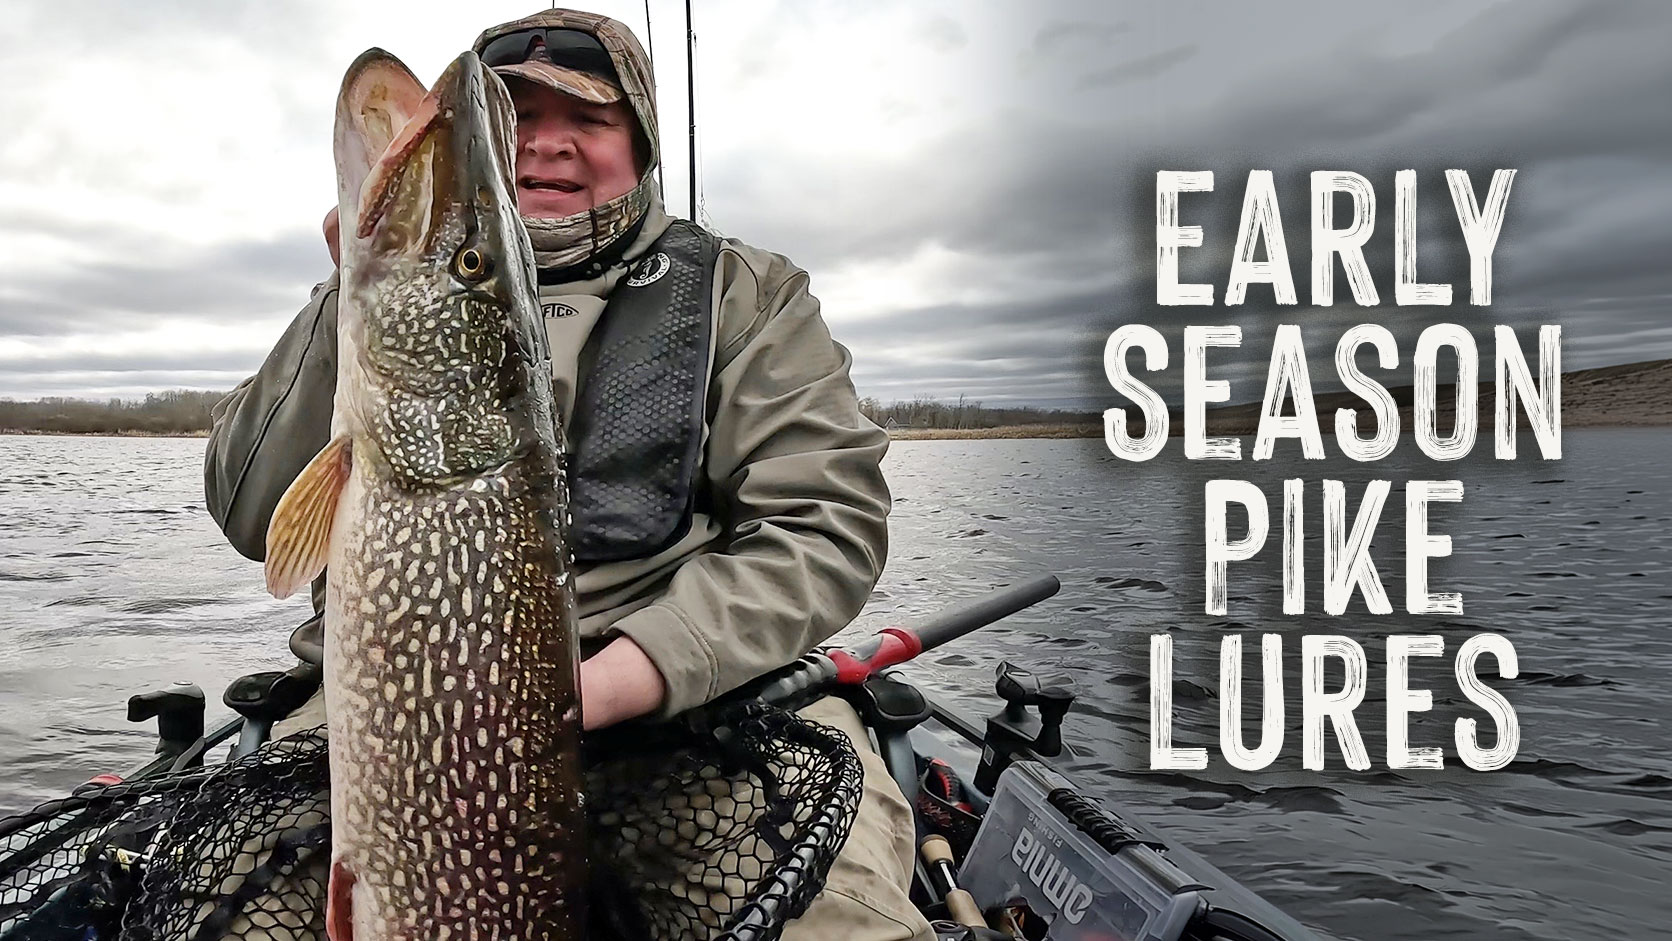
The photo above was taken by me with my phone of KP Enderle when he caught a nice Pike. Most phones are capable of impressive photography. If you’re out with others, have fun helping each other get great action and hero shots.
Make Hero Shots Look Natural
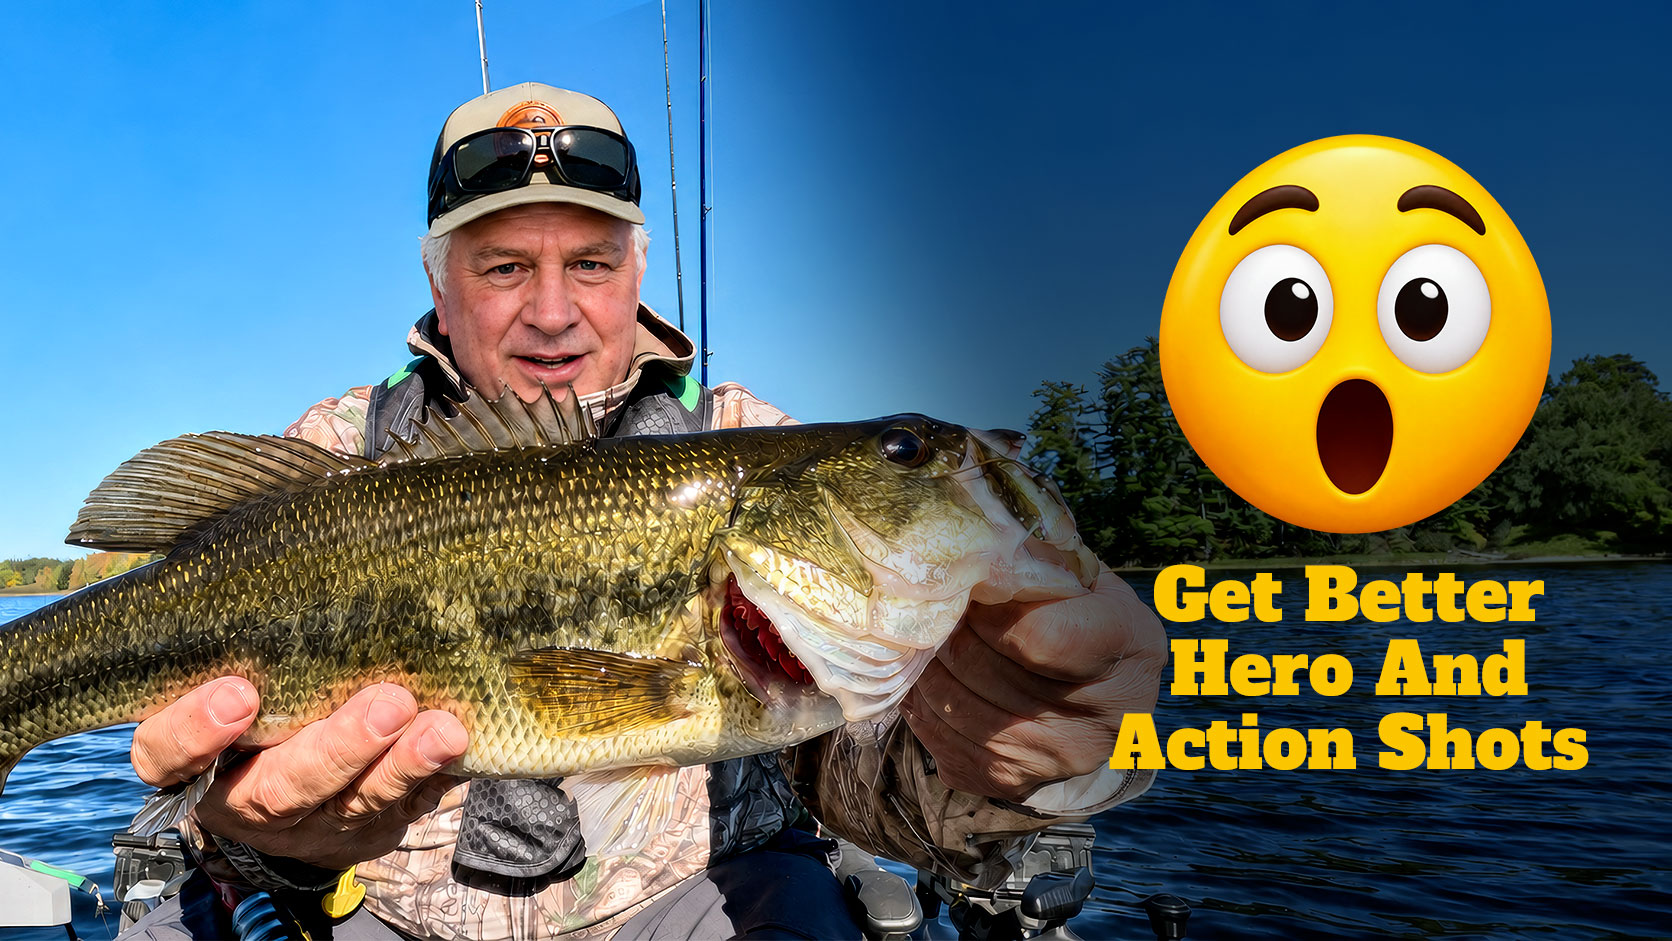
A strong hero shot shows the fish clearly and lets the viewer share your excitement.
Hold the fish comfortably near your body, with appropriate support underneath. Turn its side toward the camera and keep fingers from covering its eye or distinctive markings. Leave space between the fish and your face so both are visible.
Avoid pushing the fish far toward a wide-angle lens. That can exaggerate its proportions and make your hands dominate the image. Keep the fish near the center of the frame, where wide-angle distortion is generally less distracting.
Look at the lens for the classic photo. A quick glance down at the fish can also capture a natural moment—if you can do it without extending the handling time.
Keep the background simple. A clear stretch of lake or shoreline usually works better than a landing crowded with vehicles. Watch for spare rods that appear to stick out of your head.
Take Better Solo Photos With a Timer or Burst
Practice your solo routine before you need it. Depending on your device, a timer, remote shutter, burst mode, or interval-photo setting can help you capture a sharp frame without reaching for the camera while holding a fish.
A useful sequence is:
- Settle the kayak and make sure conditions allow a photo.
- Keep the fish in the water in an appropriate landing net while you prepare.
- Start your tested capture method.
- Wet your hands, lift and support the fish, and take a brief photo sequence.
- Return the fish gently to the water.
Skip the photo if the fish needs an immediate release. Don’t keep lifting it for another attempt because the first pose wasn’t perfect.
Capture Action Before the Landing
The hero shot is only one part of the trip. A loaded rod, an angler concentrating on a cast, and water spraying beside the kayak can make compelling images even when the fish is barely visible.
For solo action, have a mounted camera recording before you cast through promising water. Start with a wider view so an unexpected movement stays in the frame. Check that the lens is clear periodically; one water droplet can spoil an otherwise excellent sequence.
If you’re photographing a friend, anticipate the moment. Follow the rod bend toward the water and leave space where the fish may surface. Shoot a short burst as the action develops. Avoid asking the angler to repeat a landing or prolong a fight for the camera.
Use Faster Settings for Moving Subjects
If your camera offers manual controls, try 1/1000 second as a starting point for splashes and fast movement. Around 1/500 second may work for slower activity, but the speed you need depends on the subject, your own movement, and the light. Raise ISO when necessary to maintain a fast shutter speed. Continuous autofocus and burst shooting can help when photographing another angler.
On a phone, start with the normal photo mode and its burst option. Portrait mode can blur parts of a fish or fishing line, so inspect the result before relying on it.
For action-camera video, 4K at 60 frames per second is a useful daylight starting point if supported. It provides options for cropping and modest slow motion, but uses more storage and battery than lower settings. In dim light, test a lower frame rate. More frames per second alone won’t guarantee sharp individual frames.
You can save a still from video when you miss a dedicated photo, though motion blur and compression may make it less crisp.
Let the Release Finish the Story
A fish resting just below the surface or swimming away beside the kayak can be a memorable final image. Position a mounted camera in advance, or have a partner ready, so documenting the release doesn’t delay it.
Wet your hands before handling fish, minimize time out of the water, and support their weight. The Minnesota DNR recommends supporting a fish horizontally underneath its body when holding it by the mouth and returning it gently rather than tossing it. Keep fingers away from eyes and gills, and learn appropriate handling for the species you target—especially toothy fish.
Wear your PFD and stay balanced while photographing. If wind, current, boat traffic, or the fish demands your attention, put the camera aside.
Bring Home More Than a Fish Photo
Round out your fishing story with a few easy images: the kayak at the launch, a lure beside the rod, a friend casting along a shoreline, or morning mist over the lake. These details give your catch a setting and make a trip more interesting to share.
You don’t need to photograph every moment. Get your setup ready, keep the process brief, and let the fishing provide the action.
What’s your kayak fishing camera setup—and what has helped you get better photos? Share your tips with the MNKFA community.
References

Related Posts